Subkit Furigana Guide
A guide on how to use the Subkit Furigana plugin.
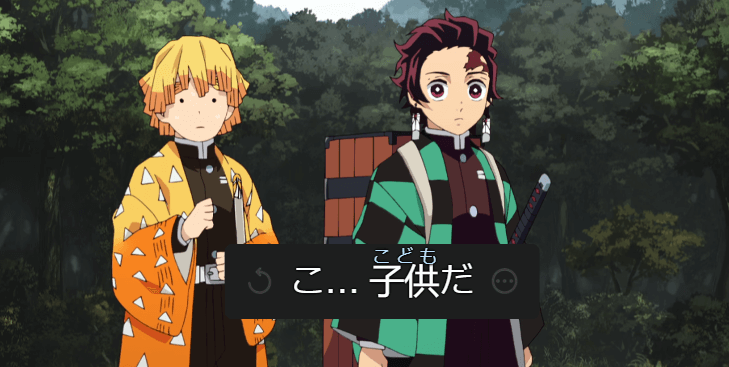
Table of contents
Overview
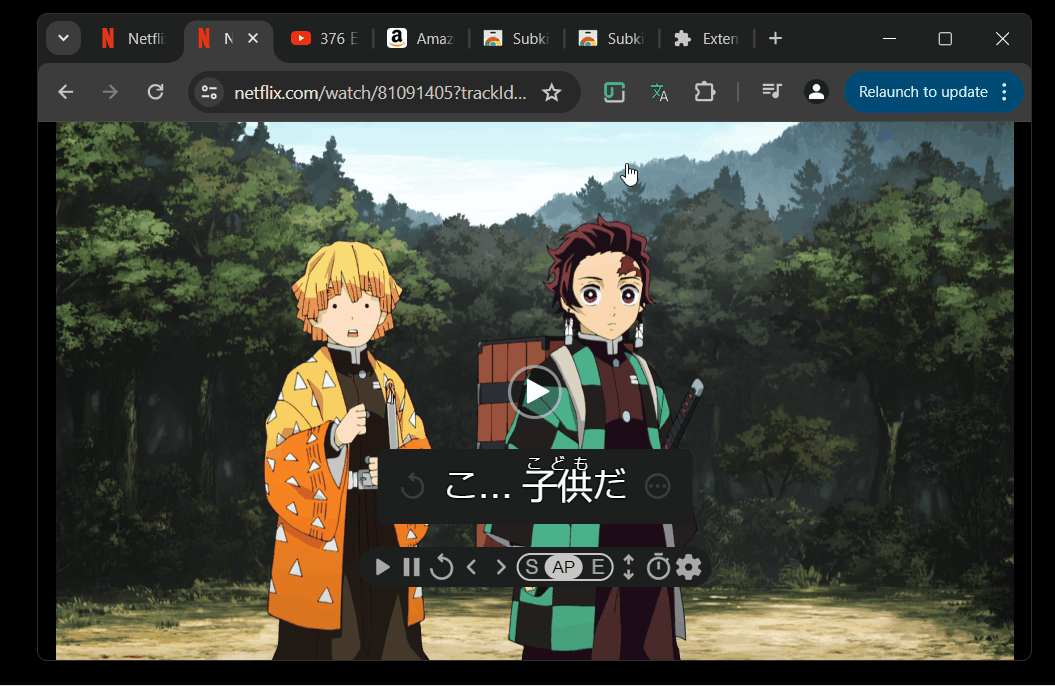
The Subkit Furigana plugin is a first-party Subkit plugin that displays furigana over Japanese subtitles to enhance your learning experience.
This is a simple guide on how to set it up and use it.
Getting Started
To use this plugin you must have the core Subkit extension installed and then register the Furigana plugin with it.
- Install Subkit.
- Pin the Subkit Furigana extension to your toolbar and click the icon to register the plugin with Subkit.
Once registered, if you open a video (for example, a show on Netflix or YouTube with Japanese subtitles), connect Subkit, you’ll be able to enable the plugin on your subtitles.
Connect Subkit And Enable Furigana
-
Open a video (Netflix, YouTube, Amazon, etc.) with Japanese subtitles.
-
Connect Subkit via the extension button and select the video element from the dropdown.
-
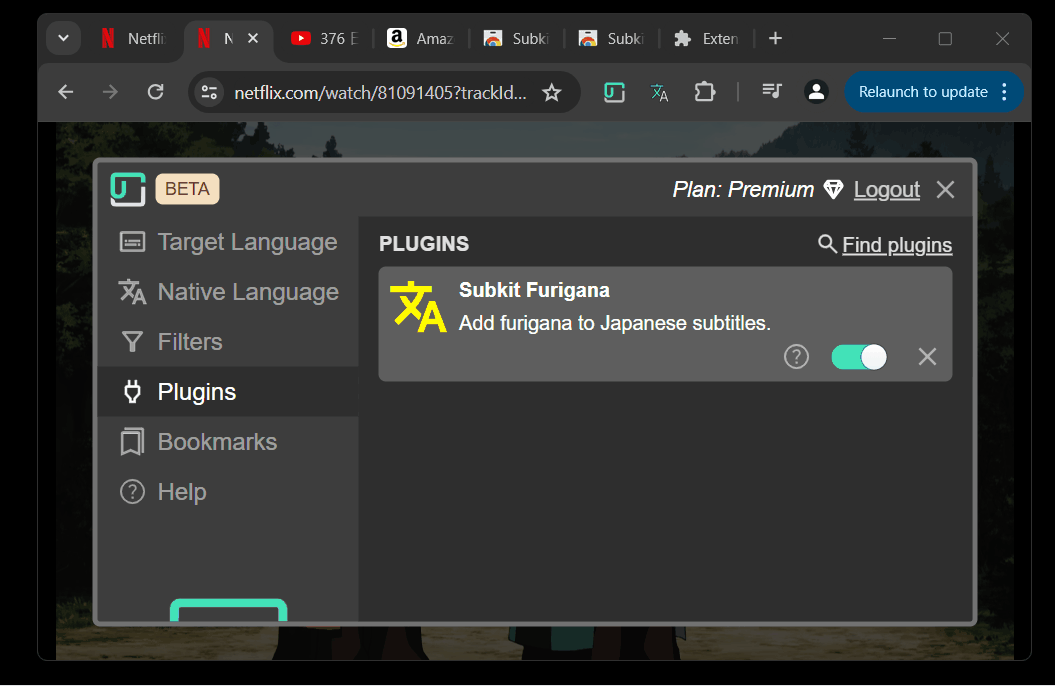
From the Subkit settings menu, select Plugins on the side menu and ensure you see Subkit Furigana in the list. If you don’t see it, click the Subkit Furigana plugin icon in the browser bar which should re-register it.
-
Now all you need to do is load Japanese subtitles to see the furigana. Click the Target Language section on the side menu, chose Japanese from the target language dropdown, and then select the Japanese subtitles from the subtitles dropdown or load your own file.
Changing Furigana Appearance
With Furigana loaded, you can modify it’s size, color and hover behavior from the extension icon in the browser top bar.
If the Subkit Furigana extension icon hasn’t been pinned, you’ll have to select the chrome plugin puzzle piece icon to access it.
Select the icon and from the popup, you can adjust it’s size by dragging the blue slider. You can adjust the color via the color picker. Finally, if you click the checkbox, you can hide furigana so that it only shows when you hover your mouse over some text on the subtitle. This is useful if you only want to see furigana one certain unknown kanji.